Supertogel Bandar Togel Hari Ini Memberikan Kemudahan Bagi Pemain Togel Hongkong
Supertogel Sebagai Bandar Togel Hari Ini Pastinya membuat Semua orang ingin melakukan segala sesuatu secara efisien. Sama halnya dengan ketika ingin melakukan pemasangan togel hari ini. Untuk itulah, Supertogel telah menyediakan sebuah aplikasi bermain togel hari ini dengan mudah menggunakan perangkat smartphone sekalipun. Semua jenis perangkat smartphone berbasis windows, android dan ios bisa digunakan untuk melakukan pemasangan togel hari ini. Dengan mendownload dan melakukan penginstalan aplikasi togel yang telah kami sediakan, Tentu sangat membantu bettor untuk bermain togel dengan mudah dan praktis. Sehingga bettor bisa bermain togel hari ini tanpa harus khawatir keterlambatan membeli tiket taruhan karena perangkat yang terbatas.
Permainan Judi Online Terbaik Dari Supertogel Selain Togel Hari Ini
Tidak hanya menyediakan permainan togel hari ini saja, Supertogel turut menghadirkan jenis permainan judi online terbaik saat ini. Hal ini bertujuan agar para pemain yang merasa bosan menunggu hasil result togel yang dimainkan bisa memiliki aktifitas lain. Tentunya setiap permainan judi online ini bisa anda mainkan menggunakan akun yang sama dan tidak kalah seru dan menyenangkan. Bahkan bettor juga bisa meraih kemenangan besar melalui permainan judi online yang telah kami sediakan sebagai berikut ini:
Slot Online
Sportsbook
Casino Online
Live Ball
Poker Online
Tembak Ikan
Dll
Keluaran Togel Hari Ini Tercepat Dan Paling Lengkap Di Supertogel
Keluaran Togel hari ini tentu menjadi informasi paling penting bagi para pemain judi togel dalam menentukan jackpot taruhan yang dipasang. Untuk itulah, Supertogel selalu melakukan upate hasil keluaran togel hari ini tercepat dan paling lengkap. Sehingga bettor tidak akan ketinggalan informasi hasil keluaran togel yang sah pada setiap pasaran yang telah kami sediakan. Selain itu bettor juga bisa melihat semua data hasil keluaran togel paling baru dan paling lama melalui menu "Result Togel" yang telah kami sediakan. Melalui ketersediaan fitur ini, Tentu anda bisa mendapatkan hasil keluaran togel hari ini paling cepat tanpa harus menunggu lama.
Togel Hongkong Hari Ini Menyediakan Keluaran HK Dan Result HK Live Supertogel
Togel Hongkong Hari Ini menyediakan Keluaran Hk malam ini dan result hk pools secara live melalui bandar supertogel. Bahkan setiap nomor keluaran hongkong dari yang terlama sampai paling baru juga kami sediakan untuk para bettor. Dimana setiap nomor keluaran hk dan result hk ini selalu kami update setiap hari sesuai jadwal resmi dari hongkong pools yaitu pukul 23.00 wib. Dengan demikian bettor bisa mendapatkan hasil result hongkong yang sah dengan tepat waktu tanpa harus menunggu lama.
Pengeluaran HK Hari Ini Untuk Menentukan Jackpot Di Supertogel
Pengeluaran HK hari ini bisa anda dapatkan secara realtime bersama supertogel. Sehingga bettor bisa menjadikan informasi hasil pengeluaran hk hari ini untuk menentukan jackpot taruhan yang dipasang. Yang mana hasil pengeluaran hk hari ini kami update dengan mengikuti hasil result hk yang di umumkan oleh situs resmi hongkongpools. Setiap nomor hasil pengeluaran hongkong hari ini kami jamin dapat 100% terpercaya. Sehingga bettor bisa menggunakannya sebagai informasi paling valid dan akurat.
Gunakan Data HK Untuk Menangkan Togel Hongkong Bersama Supertogel
Data HK Hari Ini merupakan sebuah kumpulan informasi dari setiap hasil keluaran hk dan pengeluaran hk hari ini yang telah di rekap kedalam sebuah tabel. Tentu bukan tanpa alasan kami menyusun setiap nomor keluaran hongkong dengan rapih kedalam tabel data hk. Yang mana bettor bisa memanfaatkannya kembali untuk memenangkan togel hongkong. Dengan memperhatikan kembali history dari setiap nomor keluaran hk, Maka bettor bisa dengan mudah menemukan sebuah angka main hk paling jitu untuk memasang taruhan togel pada periode berikutnya. Maka dari itu segera daftar supertogel melalui Google indonesia untuk masuk ke situs supertogel resmi.
FAQ
Q: Siapakah Supertogel?
A: Supertogel adalah bandar togel online yang telah beroperasi sejak tahun 2006 sampai saat ini. Sekaligus penyedia pasaran togel resmi terlengkap seperti togel singapore, togel hongkong dan lainnya.
Q: Mengapa Harus Bermain Judi Togel Di Supertogel?
A: Supertogel merupakan satu-satunya bandar judi togel online terpercaya yang sudah terbukti selalu membayar berapapun kemenangan member. Sehingga bettor bisa mendapatkan keamanan bermain paling fairplay 100% tanpa harus khawatir adanya kecurangan.
Q: Berapa Minimal Deposit Dan Withdraw Di Supertogel?
A: Minimal modal bermain judi togel melalui supertogel sangatlah terjangkau, Yaitu hanya sebesar Rp.10.000.
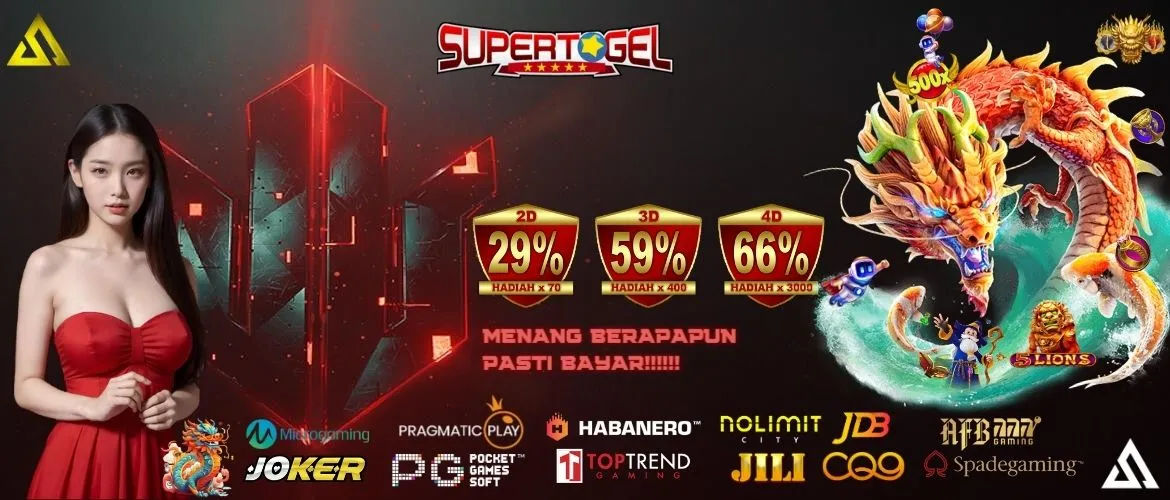
Q: Berapa Diskon Dan Hadiah Togel Di Situs Supertogel?
A: Supertogel menyediakan diskon dan hadiah togel sebesar 4D:66%, 4D:x3000 | 3D:59%, 3D:x400 | 2D:29%, 2D:x70.